Day 19 - 90daysofDevops
Docker Volume & Docker Networks
Docker Volume:-
Docker allows mounting the filesystems as a volume to the containers. These volumes preserve all the data of the container and the data is persisted even if the container is deleted.
Docker allows you to create something called volumes. Volumes are like separate storage areas that can be accessed by containers. They allow you to store data, like a database, outside the container, so it doesn't get deleted when the container is deleted.

Docker volume commands:
# To display docker volume commands
$ docker volume –help
# Create docker volume
$ docker volume create <volume-name>
$ docker volume create --name django_todo_volume --opt type=none --opt device=/home/ubuntu/volumes/django-todo --opt o=bind
# Display all docker volumes
$ docker volume ls
# Inspect the docker volume
$ docker volume inspect <volume-name>
# Remove docker volume
$ docker volume rm <volume-name>
# Remove unused volumes
$ docker volume prune
Docker Network
Docker allows you to create virtual spaces called networks, where you can connect multiple containers (small packages that hold all the necessary files for a specific application to run) together. This way, the containers can communicate with each other and with the host machine (the computer on which the Docker is installed).
When we run a container, it has its own storage space that is only accessible by that specific container. If we want to share that storage space with other containers, we can't do that.

Task 1
Create a multi-container docker-compose file which will bring UP and bring DOWN containers in a single shot ( Example - Create application and database container )
Sample yaml
Step 1 : Use the docker-compose up command with the -d flag to start a multi-container application in detached mode.
sudo apt -get update
sudo apt install docker.io -y
sudo apt install docker-compose -y
sudo usermod -aG docker $USER
sudo reboot
docker images


Use the docker-compose scale command to increase or decrease the number of replicas for a specific service. You can also add replicas in deployment file for auto-scaling.
docker-compose scale web=2


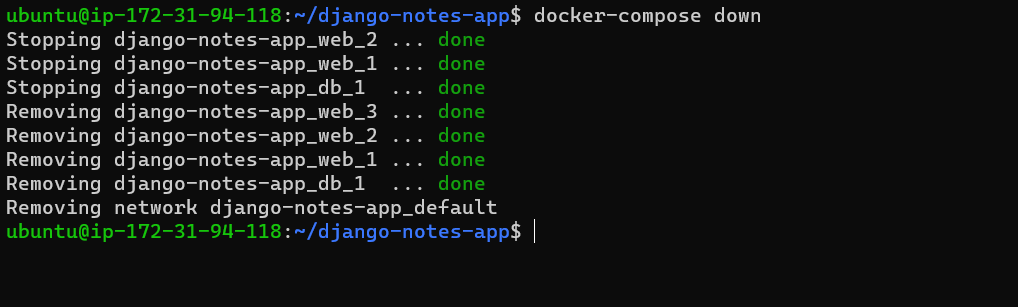
Step 4 : Use the docker-compose down command to stop and remove all containers, networks, and volumes associated with the application
Task 2
Learn how to use Docker Volumes and Named Volumes to share files and directories between multiple containers.
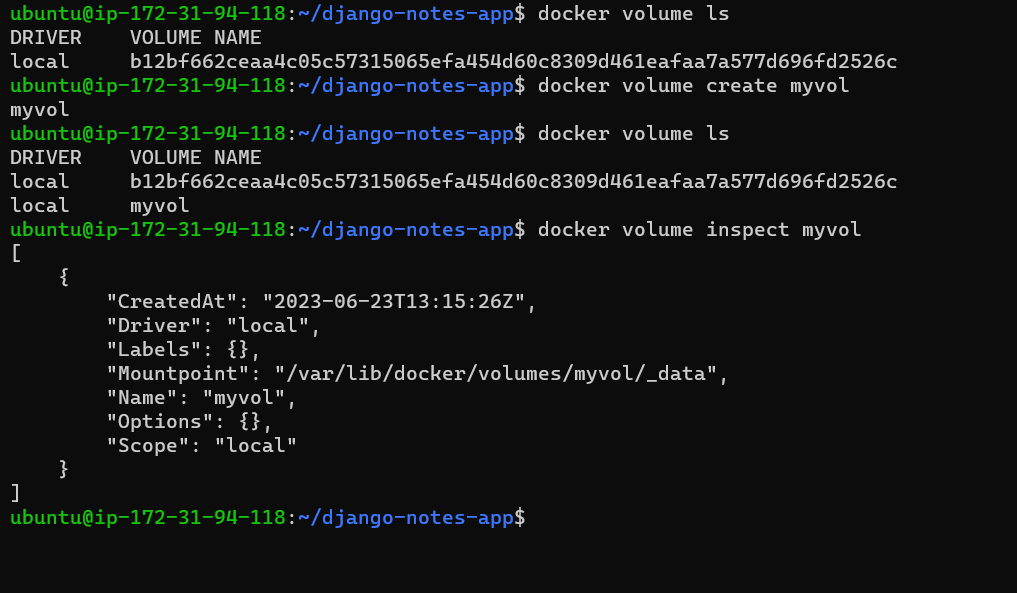
docker volume create myvol
Volume default directory : /var/lib/docker/volumes/
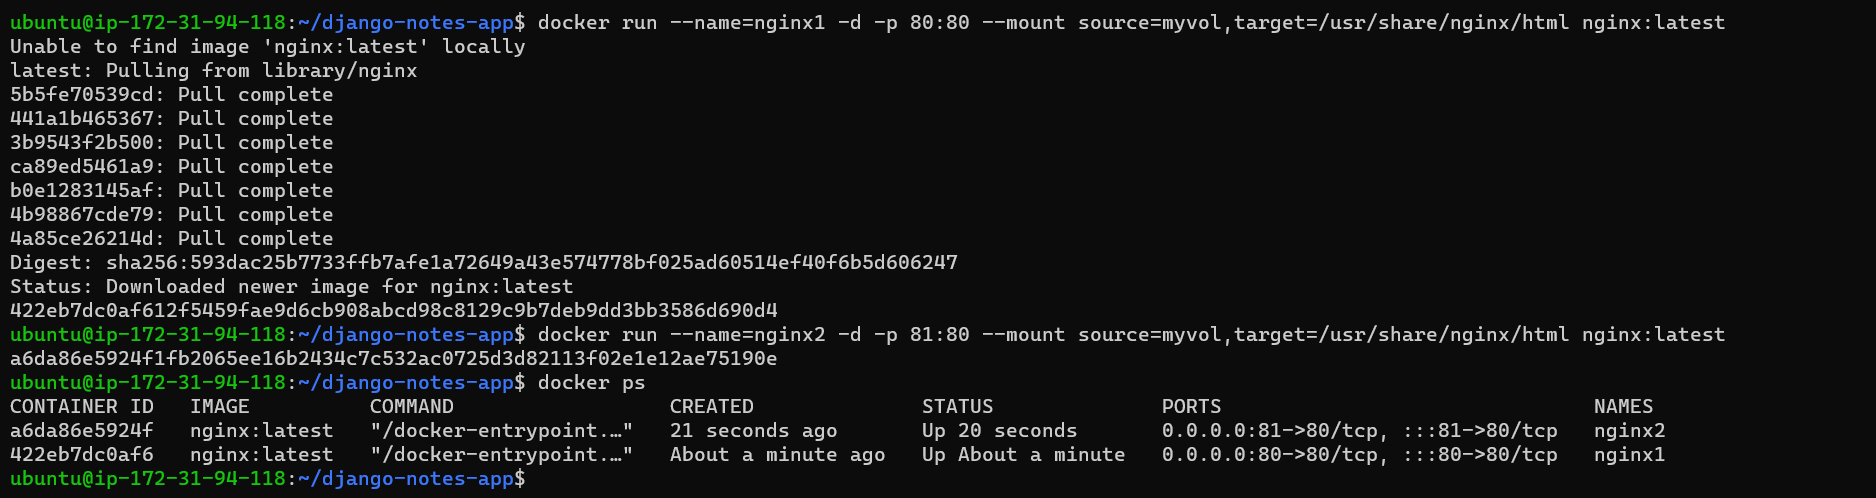
Create two or more containers that read and write data to the same volume using the
docker run --mountcommand.docker run --name=nginx01 -d -p 80:80 --mount source=myvol,target=/user/share/ngnix/html nginx:latest
docker run --name=nginx02 -d -p 81:80 --mount source=myvol,target=/user/share/ngnix/html nginx:latest
Verify that the data is the same in all containers by using the docker exec command to run commands inside each container.
How to get inside the container
docker exec -it <container name> bash

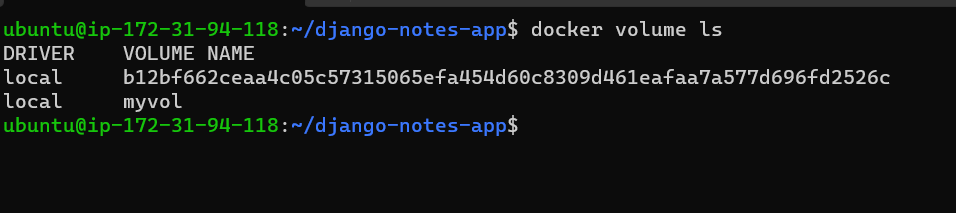
Use the docker volume ls command to list all volumes and docker volume rm command to remove the volume when you're done.
Docker volumes will be only accessible as root user: sudo su
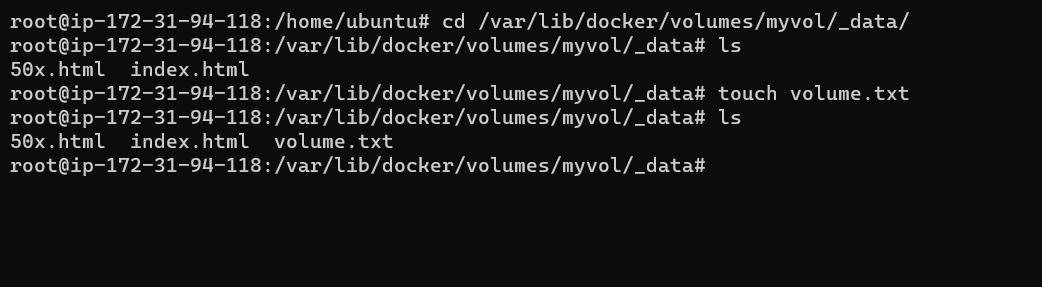
cd /var/lib/docker/volumes/
Since the docker volume named myvol is mounted to containers nginx01 and nginx02, data created in nginx01 and nginx02 should be stored or synced with the myvol
From myvol, I created a file called volume.txt. So same file should reflect in both the nginx container. This is happen vice versa for all the files as volume is atached to containers.

We cannot directly remove docker volume because it is mounted to Container. So kindly stop and remove the containers and remove the volumes
docker ps
docker stop <Container ID>
docker rm <Container ID>
docker volume ls
docker volume rm <volume name>

Thanks For reading
Bipul Kumar